ESTABLISH A KNOWN AIRCRAFT STATE
Allow the selected panel state to finish loading, then establish how the aircraft is secured. Check chocks, parking-brake selection and the relevant pressure indications against the ground arrangement. The handle position and the aircraft's actual restraint need to agree before supplies or ground services change. [23, PDF pp. 988–990] [59, PDF p. 4]
Confirm thrust levers at IDLE, engine masters OFF, mode selector NORM and gear lever DOWN. Reconcile flap and speed-brake selections with the loaded configuration. Include connected hardware in the scan: an axis or switch can send a new command as soon as the aircraft becomes active, regardless of the panel state you intended to load. [23, PDF pp. 988–999] [59, PDF p. 4]
Work through a repeatable preparation flow and resolve unexpected indications before moving into the next sequence. The objective is a known state with understood deviations. A familiar flow is valuable because it makes an inconsistency stand out, not because it can be completed without looking at the aircraft.
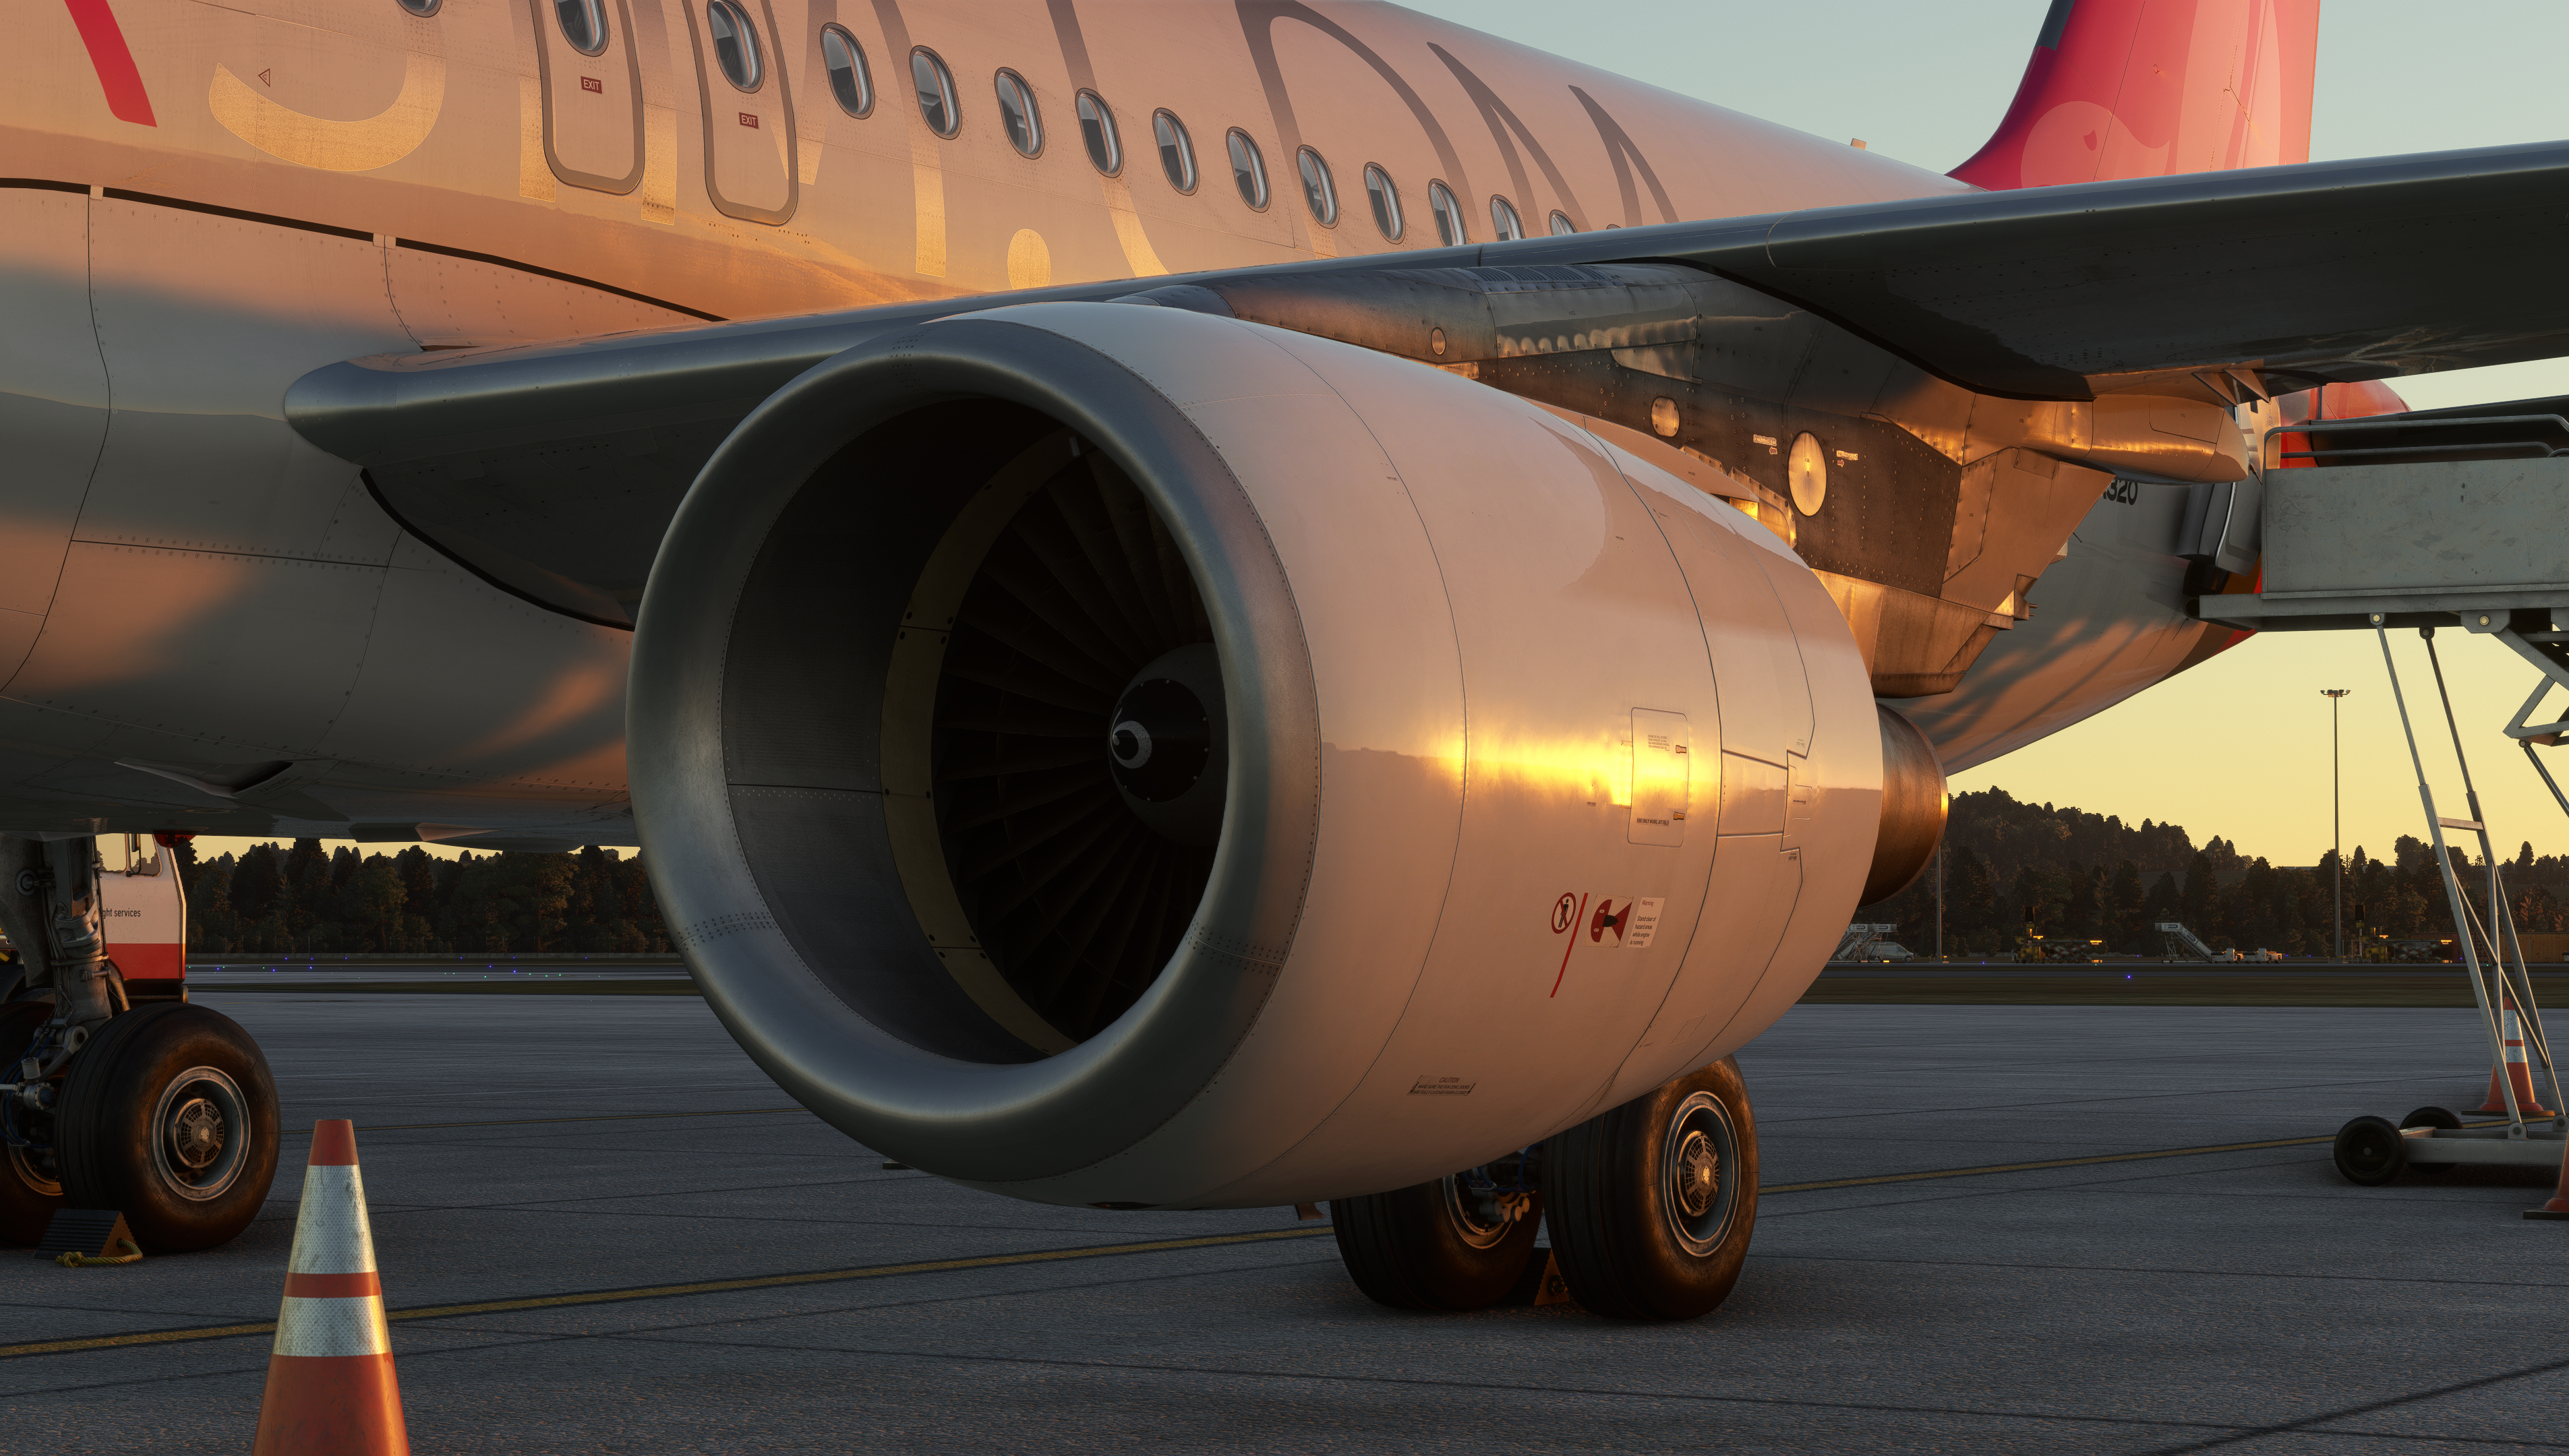
Original Fenix A320 engine and landing-gear exterior view. [1, Official A320 gallery]
IN PRACTICE: Establish a known aircraft state
Before you begin: Aircraft parked. Begin with the intended Fenix panel state and the stand/service situation you actually loaded; do not assume the previous session left the same configuration.
1. Let the selected state finish loading
Action. Load or activate the intended Fenix panel state and wait for its transition to finish. Then inspect the aircraft rather than beginning preparation while the saved state is still being applied.
Check. Controls and displays have settled into the selected starting state. Subsequent changes are your own deliberate actions. [61, Panel-state selection, activation and completion of the loading transition]
2. Confirm the stand is secure
Action. Check the actual chock/ground-service state and parking-brake selection. When brake indications are available, include accumulator/brake pressure in the confirmation; a handle position alone does not establish effective restraint.
Check. The aircraft is held securely and its available braking state is understood before other services or system changes begin. [23, PDF p. 991]
3. Read the engine and gear controls
Action. Confirm both ENG MASTER switches OFF, ENG MODE selector NORM and thrust levers at IDLE. Check the gear lever DOWN and wipers OFF before applying or changing electrical power.
Check. The initial power-up will not begin with an unintended engine command or an inappropriate gear/wiper selection. [23, PDF p. 988]
4. Compare controls with actual surfaces
Action. Inspect the flap-handle position and the actual flap/slat state, using the exterior view and ECAM when available. Check the speed-brake lever retracted and disarmed. Resolve an unexplained mismatch before adding hydraulic power.
Check. The lever positions and visible surface positions form a coherent starting state. Hydraulic power is not being used to conceal an unexplained discrepancy. [23, PDF p. 991]
Complete when: The aircraft is secure, the controls are in the intended initial positions, and no unexplained control/surface mismatch is carried into power-up.